

Are you encountering the frustrating 500 Internal Server Error Nginx while trying to access your website? Don’t worry; you’re not alone. This error message indicates that something has gone wrong on the server, preventing it from fulfilling your request. However, with the right steps and solutions, you can quickly get your website back on track.
In this comprehensive guide, we will provide you with a step-by-step approach to fixing the Nginx 500 internal server error. We will explore nine effective solutions that will help you troubleshoot and resolve the error. From examining the causes to implementing solutions, we’ve got you covered. So, let’s dive in and get your website up and running smoothly again!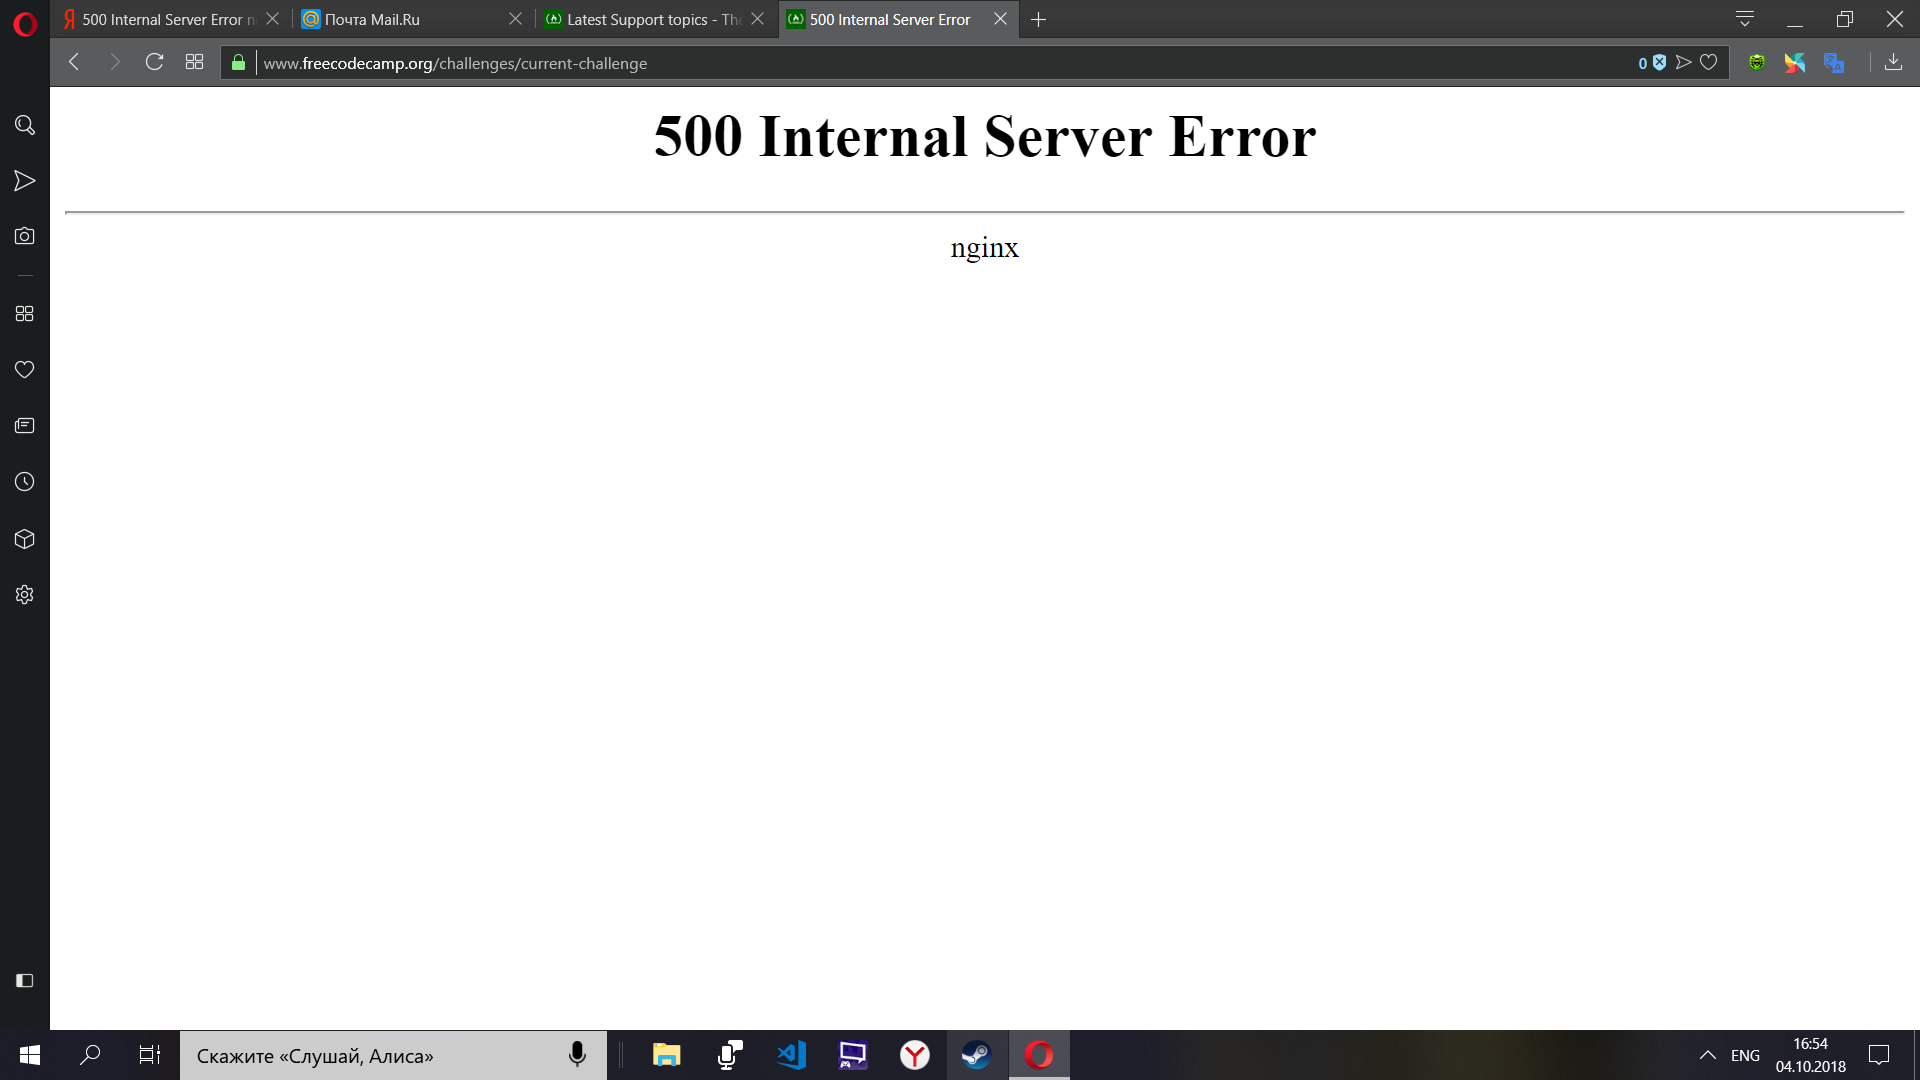

Contents
- 1 Causes of the Internal Server Error Nginx
- 1.1 How to Fix 500 Internal Server Error Nginx – [Step-by-Step Guide]
- 1.1.1 Solution: 1. Check Server Logs
- 1.1.2 Solution: 2. Verify File and Directory Permissions
- 1.1.3 Solution: 3. Review Configuration Files
- 1.1.4 Solution: 4. Increase PHP Memory Limit
- 1.1.5 Solution: 5. Disable Plugins and Themes
- 1.1.6 Solution: 6. Update Nginx and PHP Versions
- 1.1.7 Solution: 7. Clear Browser Cache
- 1.1.8 Solution: 8. Increase Server Resources
- 1.1.9 Solution: 9. Consult with Technical Support
- 1.2 FAQs (Frequently Asked Questions)
- 1.1 How to Fix 500 Internal Server Error Nginx – [Step-by-Step Guide]
Causes of the Internal Server Error Nginx
Understanding the 500 internal server error Nginx meaning can help you better address and prevent it in the future. Here are some common reasons for this error:
- Server Misconfiguration: Incorrect configuration settings in the Nginx server can lead to the 500 Internal Server Error. It could be due to syntax errors or misplacements in the configuration files.
- File and Directory Permissions: Improper file and directory permissions on the server can cause the Server Error Nginx. Make sure the files and directories have the correct permissions set.
- PHP Memory Limit: If your website relies on PHP scripts, a low PHP memory limit can trigger the 500 Internal Server Error. Increasing the memory limit in the PHP configuration can help resolve this issue.
- Incompatible Plugins or Themes: Faulty or incompatible plugins and themes can conflict with the server environment, resulting in the Internal Server Error 500 Nginx. Disable plugins and switch to a default theme to identify the problematic one.
- Outdated Software Versions: Using outdated versions of Nginx or PHP can introduce compatibility issues and cause the Internal Server Error. Updating to the latest stable versions can often resolve these problems.
- Insufficient Server Resources: Inadequate server resources, such as CPU or memory, can lead to the 500 Internal Server Error Nginx. Upgrading your hosting plan or optimizing resource allocation can help mitigate this issue.
Now that we have explored the causes, let’s move on to the step-by-step solutions to fix the Internal Server Error Nginx.
How to Fix 500 Internal Server Error Nginx – [Step-by-Step Guide]
Solution: 1. Check Server Logs
Start by checking the server logs to gather valuable information about the error. Access the server logs, such as error.log or access.log, and look for specific error messages that can help identify the root cause of the issue.
To check server error logs while fixing an Nginx server Error, you can follow these steps:
- SSH into the server: Use a secure shell (SSH) client to connect to the server where Nginx is installed. You will need the server’s IP address or hostname, as well as appropriate login credentials.
- Locate the Nginx error log directory: The location of the error logs may vary depending on the operating system and Nginx configuration. By default, the error logs are usually found in one of the following locations:
- Ubuntu/Debian:
/var/log/nginx/error.log - CentOS/RHEL:
/var/log/nginx/error.log - FreeBSD:
/var/log/nginx-error.log
If Nginx is configured to use a custom log directory, you may need to check the Nginx configuration file (typically located at
/etc/nginx/nginx.conf) to find the exact location of the error logs. - Ubuntu/Debian:
- View the error log: Once you have located the error log file, you can use a text editor or command-line tools to view its contents. Here are a few methods:
- Using a text editor: You can use a command-line text editor like
nanoorvimto open and view the log file. For example, to open the error log withnano, you can run the command:
- Using
tailcommand: Thetailcommand allows you to view the last few lines of a file. This is useful when you want to continuously monitor the error log in real-time. For example, to display the last 50 lines of the error log, you can run the command:
- Using
lesscommand: Thelesscommand enables you to view the log file in a paginated manner, which is helpful when dealing with large log files. For example:
- Using a text editor: You can use a command-line text editor like
- Analyze the error log: Once you have opened the error log, look for any error messages, warnings, or other relevant information that can help identify and troubleshoot the issue with your Nginx server. Pay attention to timestamps, error codes, and any specific error details provided.
- Take necessary actions: Based on the information found in the error log, you can take appropriate actions to fix the issues. You may need to adjust Nginx configuration files, check for conflicting settings, investigate server-side errors, or consult relevant documentation or online resources for troubleshooting guidance.


Remember to restart Nginx after making any configuration changes to ensure they take effect. The command to restart Nginx is typical:

By following these steps, you can effectively check the server error logs while fixing an Nginx server.
Solution: 2. Verify File and Directory Permissions
Ensure that the files and directories on your server have the correct permissions set. Use the chmod command or your FTP client to adjust the permissions. For files, the recommended permission is 644, while directories should have 755 permissions.
Follow these steps to Verify the File and Directory Permision to fix the Nginx Server Error.
- SSH into the server: Use a secure shell (SSH) client to connect to the server where Nginx is installed. You will need the server’s IP address or hostname, as well as appropriate login credentials.
- Navigate to the Nginx configuration directory: The Nginx configuration files are typically located in the
/etc/nginxdirectory. Use the following command to navigate to that directory:
- Verify Nginx configuration files: Check the permissions of the Nginx configuration files to ensure they are set correctly. Run the following command to list the files and their permissions:

www-dataornginx). The recommended permissions are typically 644 for files and 755 for directories. - Verify Nginx server block files: Nginx server block files define the configuration for individual websites or applications hosted by Nginx. These files are usually stored in the
/etc/nginx/sites-availabledirectory. Verify the permissions of these files using the samels -lcommand as above.Additionally, make sure that the server block files are symlinked correctly to the/etc/nginx/sites-enableddirectory. This directory contains symbolic links to the active server block files. Run the following command to check the symlinks:
- Verify web root directory permissions: The web root directory is where your website’s files are stored. By default, it is often located at
/var/www/htmlor specified in the server block configuration files. Check the permissions of the web root directory using thels -lcommand:
- Fix permissions if necessary: If you find incorrect permissions during the verification process, you can adjust them using the
chmodcommand. Here are some examples:- To set permissions on a file to read and write for the owner and read-only for everyone else:

- To set permissions on a directory to read, write, and execute for the owner, and read and execute for everyone else:

Adjust the permissions based on your specific requirements and security considerations.
- To set permissions on a file to read and write for the owner and read-only for everyone else:
- Restart Nginx: After verifying and fixing the file and directory permissions, it’s important to restart Nginx for the changes to take effect. Use the following command to restart Nginx:


By following these steps, you can verify file and directory permissions while fixing an Nginx server.
Also Read, How to Fix Error 521 with WordPress and Cloudflare: Troubleshooting Guide
Solution: 3. Review Configuration Files
Thoroughly review the Nginx configuration files, such as nginx.conf or virtual host files, to check for any misconfigurations. Look out for syntax errors, missing semicolons, or misplaced brackets. Correct any errors you find and restart the server.
To review configuration files while fixing an server, you can follow these steps:
- SSH into the server: Use a secure shell (SSH) client to connect to the server where Nginx is installed. You will need the server’s IP address or hostname, as well as appropriate login credentials.
- Navigate to the Nginx configuration directory: The Nginx configuration files are typically located in the
/etc/nginxdirectory. Use the following command to navigate to that directory:
- Review the main Nginx configuration file: The main configuration file for Nginx is usually named
nginx.confornginx.conf.default. Use a text editor likenanoorvimto open the file and review its contents. For example, to open the file withnano, run the command:
httpblock,serverblock, and other settings. Pay attention to the syntax, any enabled or disabled modules, and any specific configurations related to your server setup. - Review server block configuration files: The Nginx server block configuration files define the configuration for individual websites or applications hosted by Nginx. These files are usually stored in the
/etc/nginx/sites-availabledirectory. Use a text editor to open the relevant server block files and review their contents.For example, if you have a server block configuration file namedexample.com, you can open it withnanousing the following command:
server_name,root,location, and other directives. Ensure that the configurations align with your intended setup and requirements. - Enable or disable server block files: Nginx uses symbolic links in the
/etc/nginx/sites-enableddirectory to determine which server block configurations should be active. Review the contents of this directory using the following command:![How to Fix 500 Internal Server Error Nginx? [9 Solutions]](http://fixservererror.com/wp-content/uploads/2023/06/4-2.jpg)
sites-enableddirectory using thelncommand. For example:
sites-enableddirectory using thermcommand. For example:
- Check for syntax errors: It’s essential to ensure that your Nginx configuration files have correct syntax and don’t contain any errors. You can use the following command to check the syntax of your configuration files:

- Restart Nginx: After reviewing and making any necessary changes to the configuration files, it’s important to restart Nginx for the changes to take effect. Use the following command to restart Nginx:


By following these steps, you can effectively review and analyze the configuration files while fixing an Nginx servern Error Code 500.
You Might Also Like,
Solution: 4. Increase PHP Memory Limit
If your website uses PHP scripts, a low PHP memory limit could be the cause of the Internal Server Error Nginx. To increase the PHP memory limit, locate the php.ini file or use a plugin like “WP Memory Usage” if you’re using WordPress. Look for the line that sets the memory_limit and increase it to a higher value, such as 256M. Save the changes and restart the server.
To increase the PHP memory limit in Nginx, you’ll need to make changes to the PHP configuration. Here’s a step-by-step guide:
- SSH into the server: Use a secure shell (SSH) client to connect to the server where Nginx and PHP are installed. You will need the server’s IP address or hostname, as well as appropriate login credentials.
- Locate the PHP configuration file: The location of the PHP configuration file can vary depending on your system setup. Commonly used paths are:
- Ubuntu/Debian:
/etc/php/7.x/fpm/php.ini - CentOS/RHEL:
/etc/php.ini
If you’re unsure about the location, you can use the
phpinfo()function to find the file path. Create a PHP file (e.g.,phpinfo.php) in your web directory with the following content:
Access this file from your browser (e.g., http://yourdomain.com/phpinfo.php) and search for the “Loaded Configuration File” to find the exact location of the PHP configuration file.
- Ubuntu/Debian:
- Edit the PHP configuration file: Once you’ve located the PHP configuration file, open it with a text editor. For example, using
nano:
- Increase the memory limit: In the PHP configuration file, locate the
memory_limitdirective. It controls the maximum amount of memory PHP can use. By default, it might be set to something likememory_limit = 128M.Increase the value to your desired memory limit. For example, to set the memory limit to 256 megabytes (MB), modify the directive as follows:
- Save the changes: After modifying the
memory_limitdirective, save the changes to the PHP configuration file and exit the text editor. - Restart PHP-FPM: To apply the new PHP memory limit, you need to restart the PHP FastCGI Process Manager (PHP-FPM) service. The command may vary depending on your system, but commonly used commands are:
- Ubuntu/Debian:

- CentOS/RHEL:

Replace
7.xwith your PHP version if you’re on Ubuntu/Debian. - Ubuntu/Debian:
- Test the new PHP memory limit: To confirm that the memory limit has been increased, you can create a PHP script to display the current memory limit. Create a file (e.g.,
test.php) in your web directory with the following content:


By following these steps, you can increase the PHP memory limit in Nginx by modifying the PHP configuration file.
Solution: 5. Disable Plugins and Themes
Incompatible or faulty plugins and themes can conflict with the server environment, resulting in the 500 Internal Server Error Nginx. Start by deactivating all plugins and switching to a default theme. If the error disappears, reactivate each plugin and theme one by one until you identify the problematic one. Update or replace the conflicting plugin or theme to resolve the issue.To disable plugins and themes that are causing a 500 Internal Server Error in WordPress, you can follow these steps:
- Access the WordPress installation: Use a secure shell (SSH) client or an FTP client to connect to your server where WordPress is installed. You will need the server’s IP address or hostname, as well as appropriate login credentials.
- Navigate to the WordPress directory: Locate the root directory of your WordPress installation. This is typically the directory where the WordPress core files are located. If you’re using FTP, you’ll find it in the path
/public_htmlor/var/www/html(depending on your server configuration). - Disable plugins: WordPress plugins can sometimes cause conflicts or issues resulting in a 500 Internal Server Error. To disable the plugins, follow these steps:
- In your WordPress root directory, navigate to the
wp-contentfolder. - Inside the
wp-contentfolder, find thepluginsdirectory. - Rename the
pluginsdirectory to something likeplugins_disabled. This will effectively disable all the plugins on your site.
- Try accessing your website again. If the error is gone, then one of the plugins was causing the issue.
- In your WordPress root directory, navigate to the
- Enable plugins one by one: To identify the problematic plugin, you can enable the plugins one by one and check which one triggers the 500 Internal Server Error. Follow these steps:
- Rename the
plugins_disableddirectory back toplugins. - Access your WordPress admin dashboard and go to the “Plugins” page.
- Activate the first plugin and check if the error reoccurs. If it does, that plugin is likely causing the issue. Deactivate it again.

- Repeat the process by activating each plugin one by one and testing your website until you find the problematic plugin.
- Rename the
- Disable the problematic plugin: Once you have identified the problematic plugin, you can disable it to resolve the issue. To do this, follow these steps:
- Access your WordPress admin dashboard and go to the “Plugins” page.
- Find the problematic plugin and click the “Deactivate” link below it.
- Verify that the 500 Internal Server Error is no longer occurring.
- Disable the theme: If the issue persists even after disabling all the plugins, it’s possible that the theme you’re using is causing the error. To disable the theme and revert to a default theme:
- In your WordPress root directory, navigate to the
wp-contentfolder. - Inside the
wp-contentfolder, find thethemesdirectory. - Rename the directory of your active theme to something like
theme_disabled.
- This will automatically activate the default WordPress theme.
- Check if the 500 Internal Server Error is resolved. If it is, you may need to investigate or contact the theme developer for further assistance.
- In your WordPress root directory, navigate to the


By following these steps, you can disable plugins and themes that may be causing a 500 Internal Server Error in WordPress, allowing you to identify and resolve the issue.
Also Check, How to Fix Error Connecting to Server in Omegle?
Solution: 6. Update Nginx and PHP Versions
Outdated software versions can introduce compatibility issues and trigger the 500 Internal Server Error Nginx. It’s crucial to keep both Nginx and PHP up to date. Check the official websites or consult with your hosting provider to ensure you’re using the latest stable versions. Update the software and restart the server if necessary.
To update Nginx and PHP versions on your server, you’ll need to follow specific steps for each component. Here’s a general guide:
Update Nginx:
- SSH into your server: Use a secure shell (SSH) client to connect to your server. You’ll need the server’s IP address or hostname, as well as appropriate login credentials.
- Update package repositories: Run the following command to update the package repositories:

- Upgrade Nginx: To upgrade Nginx to the latest version available in the repositories, use the following command:

- Restart Nginx: After the upgrade, restart Nginx to apply the changes:


Update PHP:
- SSH into your server: Connect to your server via SSH.
- Update package repositories: Run the following command to update the package repositories:

- Upgrade PHP packages: To upgrade PHP and related packages to the latest version available in the repositories, use the following command:

- Verify PHP version: After the upgrade, verify the PHP version to confirm that it has been updated successfully. Run the following command:

- Restart PHP-FPM: To ensure that the changes take effect, you need to restart the PHP FastCGI Process Manager (PHP-FPM) service. The command may vary depending on your system, but commonly used commands are:
- Ubuntu/Debian:

- CentOS/RHEL:

Replace
7.xwith your PHP version if you’re on Ubuntu/Debian. - Ubuntu/Debian:


That’s it! You have now updated both Nginx and PHP to the latest available versions on your server. It’s important to note that the steps may vary depending on your Linux distribution and specific server setup. Make sure to consult the relevant documentation or check the official websites for detailed instructions specific to your environment.
Solution: 7. Clear Browser Cache
Sometimes, the 500 Internal Server Error Nginx can be caused by cached data in your browser. Clearing the cache forces the browser to fetch fresh data from the server. Access your browser’s settings and clear the cache and cookies. Relaunch the browser and try accessing your website again.
To delete the cache from your browser, you can follow the instructions provided below for popular web browsers:
Google Chrome:
- Open Chrome.
- Click on the three-dot menu icon in the top-right corner.
- Select “More tools” from the drop-down menu, then choose “Clear browsing data.”
- In the Clear browsing data window, select the time range for which you want to delete the cache (e.g., “All time” to delete all cached data).

- Check the box next to “Cached images and files.”
- Optionally, you can select other types of data you want to delete.
- Click the “Clear data” button to delete the cache.

Mozilla Firefox:
- Open Firefox.
- Click on the three-line menu icon in the top-right corner.
- Select “Options” (or “Preferences” on macOS).
- In the left sidebar, click on “Privacy & Security.”
- Under the “Cookies and Site Data” section, click on “Clear Data.”
- Check the box next to “Cached Web Content.”
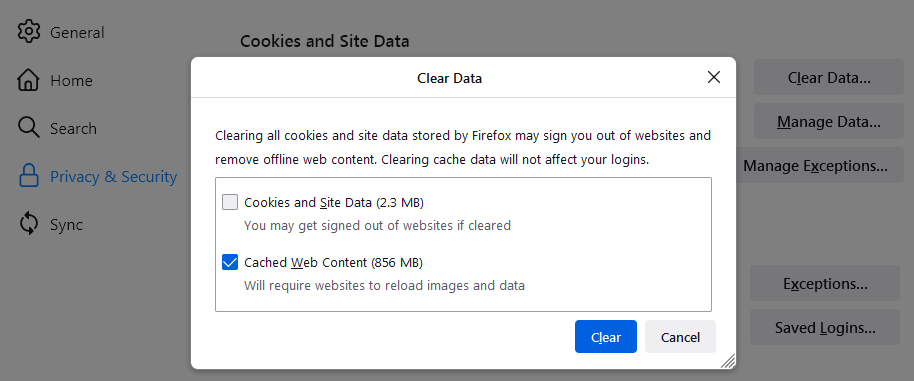
- Optionally, you can select other types of data you want to delete.
- Click the “Clear” button to delete the cache.

Microsoft Edge:
- Open Edge.
- Click on the three-dot menu icon in the top-right corner.
- Select “Settings” from the drop-down menu.
- Under the “Privacy, search, and services” section, click on “Choose what to clear.”
- Check the box next to “Cached images and files.”
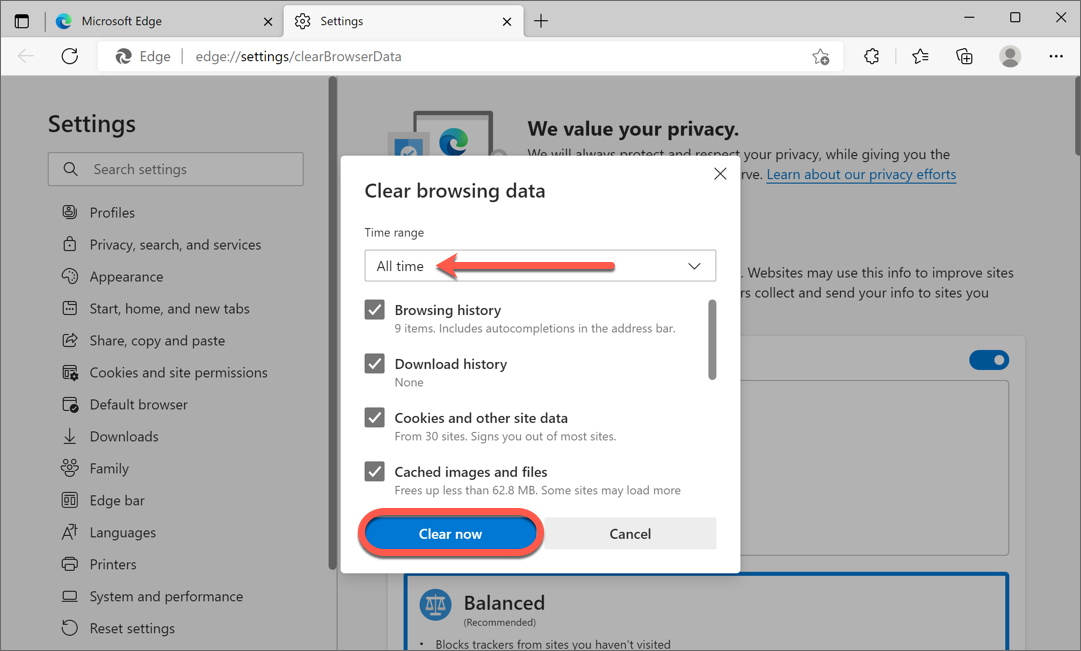
- Optionally, you can select other types of data you want to delete.
- Click the “Clear” button to delete the cache.

Safari (macOS):
- Open Safari.
- In the top menu, click on “Safari” and select “Preferences.”
- Go to the “Privacy” tab.
- Click on “Manage Website Data.”

- Click on “Remove All” (or select specific websites and click “Remove”).
- Confirm the action by clicking “Remove Now” in the pop-up window.

Please note that the steps provided may differ slightly based on the browser version and operating system you are using.
Solution: 8. Increase Server Resources
Insufficient server resources, such as CPU or memory, can also trigger the 500 Internal Server Error Nginx. Determine the resource usage of your website and consider upgrading your hosting plan if necessary. Contact your hosting provider and inquire about the available options to increase server resources to accommodate the needs of your website.
Increasing server resources in your hosting environment can vary depending on the hosting provider and the specific hosting plan you’re using. Here are some general steps you can take to increase server resources:
- Contact your hosting provider: Reach out to your hosting provider’s support team or consult their documentation to understand the options available for increasing server resources. They may have specific procedures or plans in place to accommodate resource upgrades.
- Upgrade your hosting plan: In many cases, upgrading your hosting plan to a higher tier can provide increased server resources such as CPU, memory, storage, and bandwidth. Contact your hosting provider to inquire about available upgrade options and the impact on server resources.
- Adjust resource limits: Depending on the hosting environment, you may have access to tools or settings that allow you to adjust resource limits within your current hosting plan. This can include CPU limits, memory limits, or maximum execution time limits. Check your hosting control panel or contact your hosting provider for guidance on adjusting these limits.
- Consider a dedicated server or VPS: If your website or application requires substantial resources, you might consider moving to a dedicated server or a virtual private server (VPS) hosting plan. These options provide dedicated resources for your use, giving you more control and scalability. However, this usually involves more advanced server management and potentially higher costs.
- Optimize your website or application: Before upgrading server resources, it’s worth evaluating your website or application for potential optimizations. Review your codebase, database queries, caching mechanisms, and content delivery to ensure optimal performance. By optimizing your website, you can often make better use of existing resources and potentially reduce the need for immediate resource upgrades.
- Utilize content delivery networks (CDNs): CDNs can help offload server resources by distributing static files and content across multiple servers worldwide. By serving static files from a CDN, you can reduce the load on your hosting server and improve overall performance.
Remember to consider your budget, hosting provider options, and the requirements of your website or application when deciding on resource upgrades. It’s also recommended to consult with your hosting provider’s support team or seek assistance from a professional system administrator to ensure smooth and appropriate resource upgrades in your hosting environment.
Solution: 9. Consult with Technical Support
If you have exhausted all the troubleshooting steps mentioned above and are still unable to resolve the 500 Internal Server Error Nginx, it is advisable to seek assistance from technical support. Contact your hosting provider’s support team and provide them with detailed information about the error and the steps you have already taken. They will be able to investigate the issue further and provide you with specialized guidance.
FAQs (Frequently Asked Questions)
Q: What is the 500 Internal Server Error Nginx?
The 500 Internal Server Error Nginx is an error message indicating a server-side issue that prevents the server from fulfilling the request. It is a common HTTP status code that signifies an internal problem rather than an issue with the client’s request.
Q: How can I check server logs?
Server logs can usually be accessed through the hosting control panel or via SSH (Secure Shell) if you have command-line access to your server. Look for log files such as error.log or access.log to review the server’s activities and identify any errors or issues.
Q: Can a faulty plugin cause the 500 Internal Server Error Nginx?
Yes, a faulty or incompatible plugin can lead to the 500 Internal Server Error Nginx. If you suspect a plugin is causing the issue, try disabling it and see if the error persists. If the error disappears after disabling a specific plugin, you may need to update or find an alternative plugin to resolve the conflict.
Q. Should I update both Nginx and PHP versions?
A: Yes, it is recommended to keep both Nginx and PHP versions up to date. Updates often include bug fixes, security patches